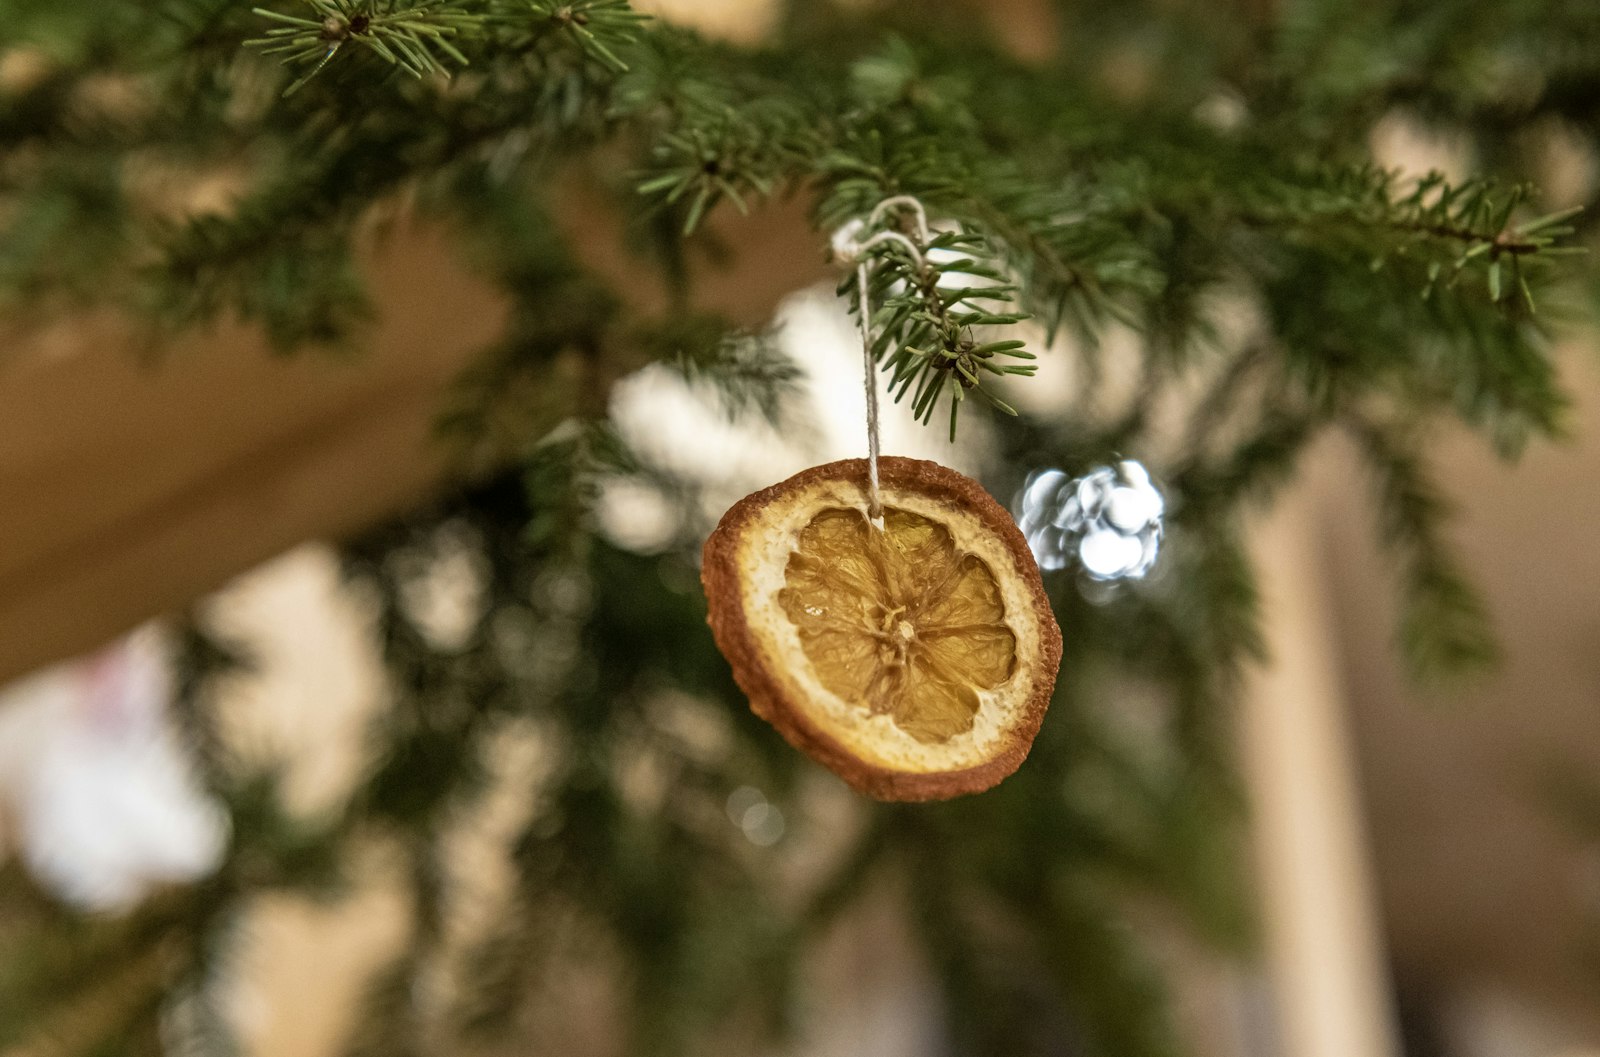
There’s something magic about a tree decorated with things your child found, touched and made. A dried orange that glows in the window light. A lumpy salt dough leaf. A twig star tied with a little too much twine. These nature ornaments for kids are cheap (often free), screen-free, and gentle enough for little hands ages 3 to 6. They also turn December into a season of slow, Montessori-inspired making instead of rushing.
Below you’ll find 9 simple ideas, a quick list of supplies to gather on your next nature walk, and tips to keep the process calm and child-led.
Free Printable for Your Little One
Want a cozy, screen-free activity ready for this week? Join the Little One in Nature email list and get the FREE Cottagecore Busy Book right away. You’ll also receive a new free Montessori printable every month and subscriber-only discounts.
Why Nature Ornaments Are Perfect for Little Learners
In Montessori at home, we look for real materials, real work, and a real purpose. Homemade nature ornaments check every box:
- Real materials: pinecones, sticks, orange slices, leaves and seeds feel, smell and weigh like the real world.
- Practical life skills: pouring, mixing, rolling, cutting with child-safe scissors and tying knots all build fine motor control.
- Nature connection: every ornament starts with a walk outside, noticing trees, seeds and seasons.
- Process over product: the goal isn’t a perfect ornament. It’s a calm, focused hour your child chose.
Tip: before you go out, look at tree pictures together so your child can name what they find. Our North American Trees 3-Part Cards make it easy to tell a pine from a spruce or a fir, and they’re a lovely follow-up on the tray when you get home.
Gather Your Nature Basket First
Take a small basket or cloth bag on a winter walk and collect:
- Pinecones (small and medium)
- Fallen sticks and twigs (straight ones work best for stars)
- Evergreen sprigs that have already fallen
- Acorn caps, seed pods and dried leaves
- A few smooth bark pieces or wood slices
At home, add: oranges, cinnamon sticks, flour, salt, twine or yarn, a large plastic needle, child-safe scissors and a tray to work on.
9 Easy Nature Ornaments for Kids
1. Dried Orange Slice Ornaments
Slice oranges about 1/4 inch thick (grown-up job), then let your child pat them dry with a cloth. Bake on low heat (around 200°F) for 2 to 3 hours, flipping once. Once cool, your child can thread twine through the top and tie a loop. The color is stunning against green branches, and the whole house smells like Christmas.
Montessori tip: set out a small sponge, a towel and a tray so patting the slices dry becomes its own practical life work.

2. Salt Dough Nature Print Ornaments
Mix 1 cup flour, 1/2 cup salt and about 1/2 cup water. Let your child knead, roll and cut circles with a cookie cutter or a cup. Then the fun part: press a pine sprig, a fern, a leaf or the bottom of a pinecone into the dough to leave a print. Poke a hole with a straw, bake at 200°F for 2 to 3 hours, and tie with twine. Leave them plain and natural or let your child brush on a little watercolor.
3. Cinnamon Stick Bundles
Little hands can stack three cinnamon sticks, wrap them with red or natural twine, and tuck in a sprig of evergreen. It’s a perfect beginner ornament for 3-year-olds: short, successful, and wonderful to smell.
4. Twig Star Ornaments
Snap or cut five short sticks of similar length. Help your child glue or tie them into a star shape, then wrap the corners with yarn. Older preschoolers can weave yarn back and forth across the star for a cozy, rustic look. Counting the five sticks is a sneaky math moment.
5. Mini Pinecone Ornaments
Tie a loop of twine or ribbon around the top scales of a small pinecone. That’s it. For a snowy look, your child can dab the tips with a little white paint using a cotton swab. Before you hang it, ask your child to find the same kind of tree on your North American Trees 3-Part Cards: was it a pine, a spruce or a fir?
6. Birdseed Ornaments for the Backyard Birds
This one is a gift for the birds. Mix 3/4 cup birdseed with a packet of unflavored gelatin dissolved in 1/4 cup warm water and 3 tablespoons of flour. Your child presses the mixture into cookie cutters on a tray, adds a loop of twine, and lets them set overnight. Hang them on a tree you can see from the window, then watch who comes to visit. It’s a beautiful way to start a winter bird journal.
Get the FREE Cottagecore Busy Book
Ornament making is better with a calm activity waiting for the next cold morning. Sign up and the Cottagecore Busy Book lands in your inbox for free, plus a new free Montessori printable every month and discounts just for subscribers.
7. Pressed Leaf Wood Slice Ornaments
Glue a pressed leaf, fern or tiny evergreen sprig onto a small wood slice with a thin layer of school glue (or Mod Podge for grown-ups to finish). Add a loop of twine at the top. If your child pressed leaves in the fall, this is the perfect way to use them.
8. Acorn Cap and Seed Pod Ornaments
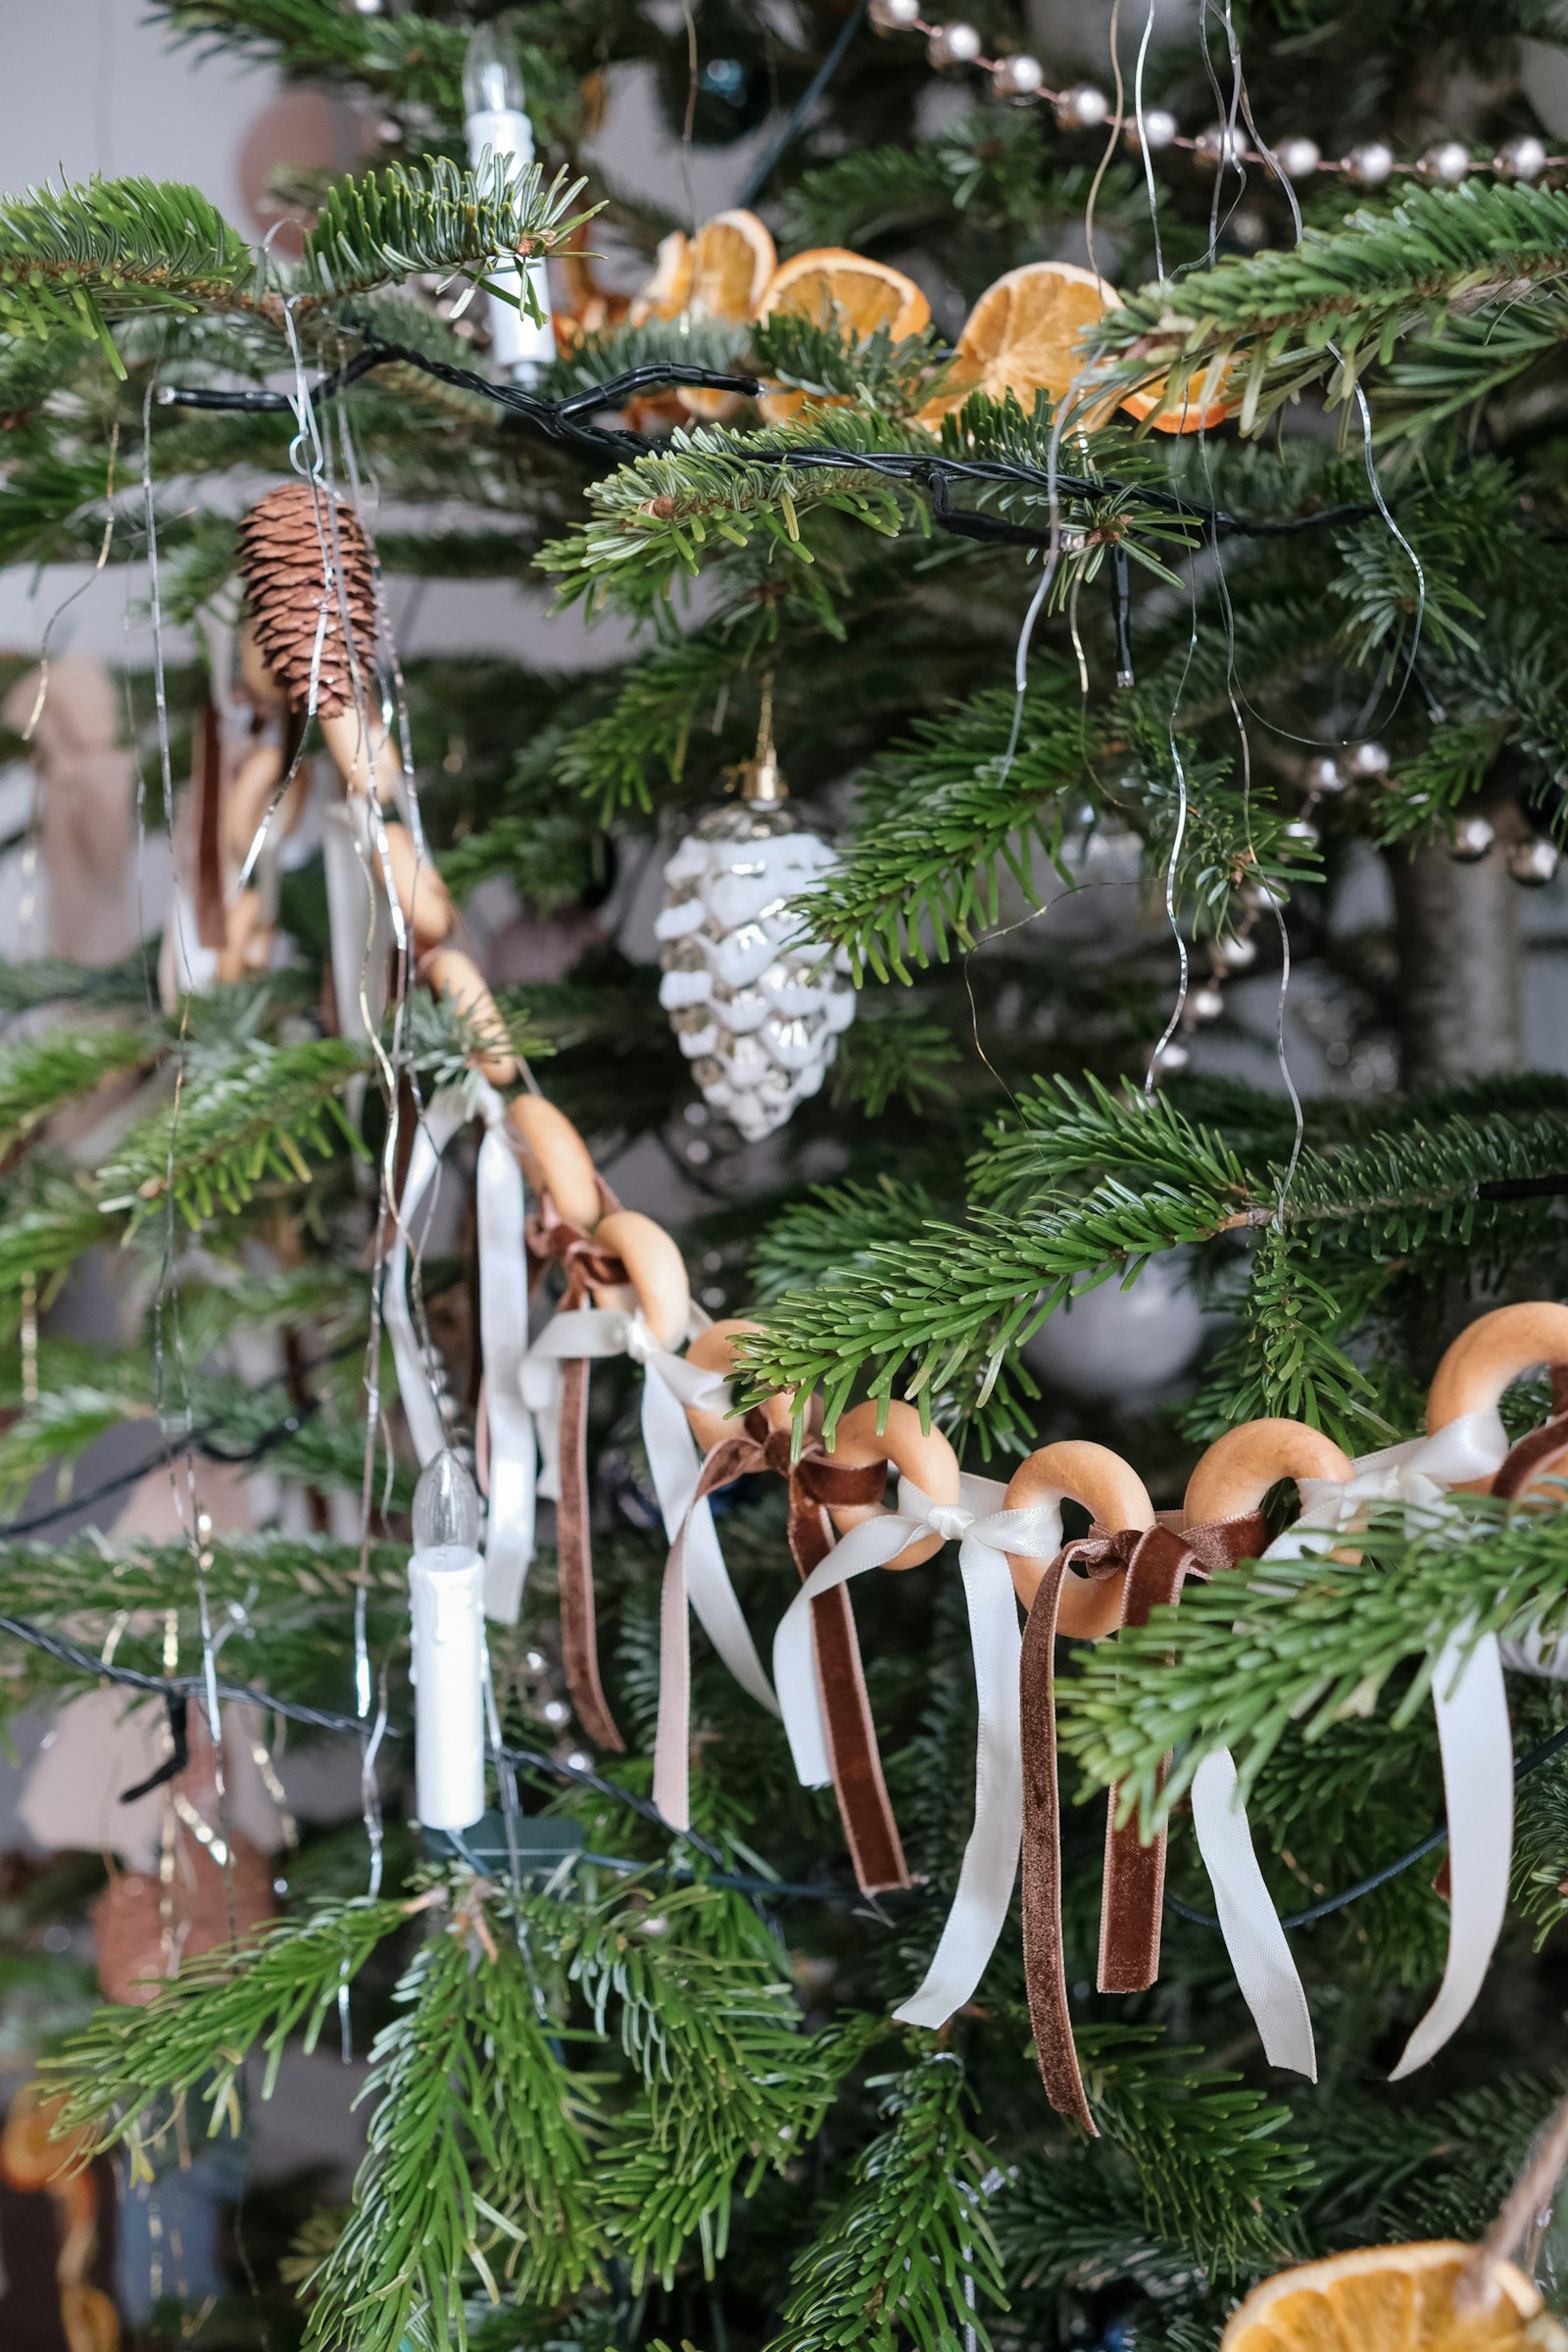
Fill a few acorn caps with tiny beads, a dab of glue and a dried berry, or simply glue three acorn caps onto a short stick in a row. Seed pods, like sweetgum balls or small alder cones, can be strung together on yarn with a large plastic needle. Threading is excellent fine motor practice.
9. Frozen Nature Suncatcher Ornaments
On a cold day, fill a shallow dish or muffin tin with water and let your child arrange berries, evergreen sprigs, orange slices and leaves inside. Lay a loop of string in the water, then freeze outside overnight. Pop them out and hang them on an outdoor tree or porch. Kids love checking on them every morning, and they melt back into nature when the season changes.
Tips to Keep Ornament Making Calm and Child-Led
- Use a tray: put only the materials for one ornament on a tray. Less clutter means more focus.
- Offer one idea at a time: a new ornament every few days feels special and keeps December slow.
- Let them choose: which pinecone, which ribbon, which branch. Choices build independence.
- Name the nature: “That’s a spruce sprig. Feel how sharp the needles are?” Real words grow real vocabulary.
- Display with pride: hang ornaments at your child’s eye level, or on a small tabletop tree they can decorate again and again.

Turn It Into a Gentle December Rhythm
You don’t need to make all nine in a week. Try one nature ornament each weekend, or pair them with a cozy morning routine: a winter walk, a basket of tree cards, and one simple making activity. If you love the idea of a slow December, our Christmas Morning Basket ideas pair beautifully with these crafts.
FAQ: Nature Ornaments for Kids
What age can make nature ornaments?
Most of these ideas work for kids ages 3 to 6. Three-year-olds do best with cinnamon bundles, pinecone loops and pressing prints into salt dough. Five- and six-year-olds can try twig stars, threading seed pods and weaving yarn.
How do I make homemade ornaments last?
Bake salt dough and dried oranges low and slow until fully dry, then store them in a tin with tissue paper. A thin coat of clear sealer (grown-up job) helps salt dough last for years.
Are birdseed ornaments safe for birds?
Yes, when you use plain birdseed, unflavored gelatin and flour. Avoid salt, sugar and bread, and hang them where squirrels can’t easily reach them.
Keep the Cozy Learning Going
Looking for more calm, nature-based learning this winter? Browse the Little One in Nature shop on Etsy for Montessori printables, 3-part cards and seasonal activities. And don’t miss your FREE Cottagecore Busy Book: join the list for a new free Montessori printable every month and subscriber-only discounts.
Ready to make something cozy together? Grab your FREE Cottagecore Busy Book here and happy ornament making!
Leave a Reply