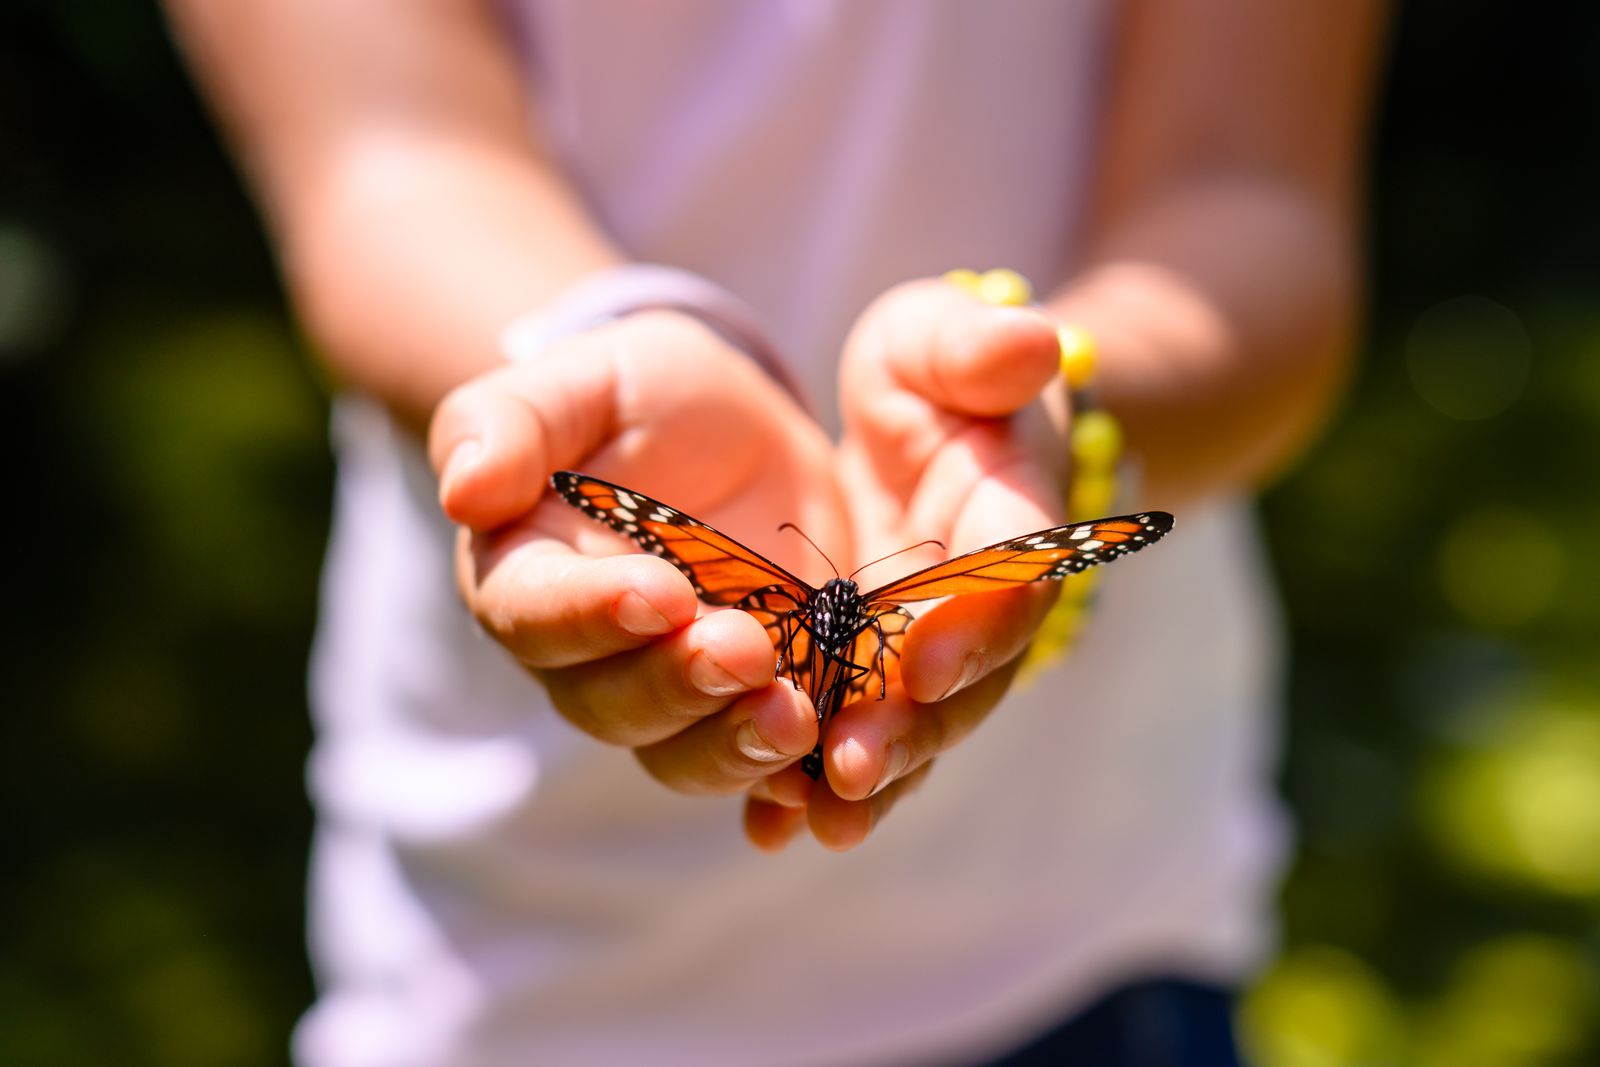
If your little scientists light up every time they spot a caterpillar on the playground or a sprout pushing through the soil, you already know: life cycle activities for preschool are some of the most magical lessons of the year. Children ages 3 to 6 love watching something change, and life cycles give them a clear, beautiful story to follow, from egg to chick, seed to plant, caterpillar to butterfly.
The good news? A life cycle unit doesn’t need to be loud, messy or complicated. With a few real objects, realistic pictures and hands-on materials, you can build calm, Montessori-inspired science centers that run all year. Here are seven simple ideas teachers love, plus a few tips to keep your science center peaceful and meaningful.
Why Life Cycles Work So Well in Pre-K and Kindergarten
Young children learn best through their senses and through repetition. A life cycle has a built-in order (first, next, then, last), so it naturally supports:
- Sequencing and early math thinking: putting stages in order is a foundation for patterns and story retelling.
- Vocabulary: words like larva, pupa, seedling and hatch feel big and exciting to little learners.
- Observation skills: children compare, notice details and describe change over time.
- Respect for living things: watching a real seed grow builds patience and care.
In a Montessori classroom, we follow a simple rule: real before pretend, concrete before abstract. Start with a real object or a realistic picture, then move toward cards, sequencing and drawing.
7 Simple Life Cycle Activities for Preschool
1. Start With a Life Cycle Poster at Eye Level
Before any activity, give children a clear visual to come back to. Hang one life cycle poster at their eye level in your science corner and change it with your theme: butterflies in spring, chickens on a farm unit, penguins in January.
Keep the wall calm: one poster, soft colors, realistic pictures. Children will “read” it on their own, point to stages and teach each other. My Science Classroom Posters Bundle uses soft watercolor life cycle and anatomy posters that fit a neutral, nature-inspired classroom.
2. Montessori 3-Part Cards for New Vocabulary
Three-part cards are a classic Montessori tool for a reason. Children match a picture card and a label card to a control card, then check their own work. It is quiet, self-correcting and perfect for a science shelf.
How to present them:
- Lay out the control cards (picture + word) in order.
- Name each stage slowly: “egg… larva… pupa… butterfly.”
- Invite the child to match the picture cards, then the labels.
- Flip to the control cards to check.
The Life Cycle of a Butterfly pack includes 3-part cards, a poster, sequencing and labeling pages, all with matching watercolor pictures.
3. Plant a Real Bean in a Jar
This is the activity children remember for years. Place a damp paper towel inside a clear jar, tuck a dry bean against the glass and watch roots and a sprout appear within a few days.
Make it a daily ritual:
- Each morning, one “science helper” checks the jar.
- The class describes what changed, using stage words: seed, sprout, seedling, plant.
- Children draw what they see in a simple observation journal.

Pair your jar with the Life Cycle of a Bean Plant activities so children can sequence the stages and label the parts of a plant (flower, leaf, stem and roots) right next to the real thing.
4. Cut and Paste Sequencing
Once children know the stages, sequencing pages let them show what they’ve learned while practicing scissor skills. Keep it simple: four pictures, four boxes, first to last.
A few tips for a calm cutting center:
- Pre-cut for 3-year-olds; let 4- and 5-year-olds cut on thick lines.
- Offer glue sticks in a small tray, not loose on the table.
- Ask children to “read” their finished strip aloud: “First the egg, then…”
5. Life Cycle Story Basket
Gather a small basket with realistic figurines or natural objects for one life cycle: an egg-shaped stone, a feather and a toy hen for chickens; a seed, a twig and a leaf for plants. Children use the objects to retell the life cycle in their own words.
This works beautifully at circle time or as a small-group oral language center. It is also a gentle way to include children who aren’t ready to write yet.
6. A Winter Penguin Life Cycle Unit
Looking for a cozy science theme for December and January? Penguins are a classroom favorite, and their life cycle (egg, chick, juvenile, adult) is easy for little ones to follow. Add a “huddle” movement game, a penguin waddle line and a sensory bin with “snow” made of cotton balls.
The Life Cycle of a Penguin activities give you a ready-to-print winter science unit with a poster, 3-part cards, sequencing, labeling, tracing and coloring pages.
Get the FREE Cottagecore Busy Book
Join the Little One in Nature email list and get my Cottagecore Busy Book free when you sign up. Every month, subscribers also receive a new free Montessori printable and subscriber-only discounts on new resources.
7. Hatch a Farm Unit With the Chicken Life Cycle
Spring hatching projects are a dream, but even without real eggs, the chicken life cycle is a wonderful farm or Easter theme. Read a farm story, compare an egg and a feather, and let children sort pictures of “baby” and “grown-up” animals.

The Life Cycle of a Chicken pack follows the four stages (egg, hatching, chick and hen) with the same calm watercolor style, so your science center feels consistent all year. For a spring garden theme, the Life Cycle of a Ladybug is a sweet next step.
How to Plan a Year of Life Cycle Science Centers
You don’t need to teach every life cycle at once. A simple rotation keeps things fresh and connects science to the seasons:
| Season | Life cycle | Pairs well with |
|---|---|---|
| Winter | Penguin | Arctic animals, snow play |
| Early spring | Bean plant | Seed planting, garden center |
| Spring | Chicken | Farm unit, Easter |
| Late spring | Butterfly, ladybug | Insects, outdoor bug hunts |
Prep everything once, store each life cycle in its own labeled folder or bin, and simply swap the tray on your science shelf when the theme changes. If you’d like every pack ready in one place, the Life Cycles Growing Bundle gathers the butterfly, chicken, penguin, bean plant and ladybug units at a lower price, and new life cycles are added for free.
Tips for a Calm, Montessori-Inspired Science Center
- One activity per tray. Fewer choices mean deeper focus.
- Use real pictures. Realistic images help children connect what they see on paper to the real world.
- Bring nature inside. A real leaf, seed or feather next to the cards makes learning concrete.
- Go outside often. Look for eggs in nests (without touching), seeds on trees and insects under logs.
- Let children repeat. Repetition is how young children master a concept, so leave the tray out for a few weeks.
Ready-to-print life cycle units for your science center
Every pack in the Life Cycles Growing Bundle includes a poster, Montessori 3-part cards, cut and paste sequencing, labeling, tracing and coloring pages, all in the same calm watercolor style. Print once and use it year after year.
Frequently Asked Questions
What age is right for life cycle activities?
Children as young as 3 enjoy simple two- or three-stage life cycles (seed and plant, egg and chick). Four-stage cycles with sequencing and labeling work well for ages 4 to 6 in Pre-K and kindergarten.
Which life cycle should I teach first in preschool?
The bean plant is a great first choice because children can watch the real thing change in just a few days. The butterfly is another favorite, especially in spring.
How long should a life cycle unit last?
One to two weeks is ideal for most classrooms. Keep the materials on your science shelf afterward so children can return to them during free choice time.
Keep Exploring
Looking for more hands-on centers? Read my post on Fall Fine Motor Centers for Pre-K: 8 Calm, Hands-On Ideas for more calm, low-prep ideas your little learners will love.
Ready to bring life cycles to your classroom? Explore all my Montessori-inspired science resources in my Little One in Nature TPT store.
Leave a Reply